Hey, we’ve all been there. You have a new device or a friend comes over and asks for the WiFi password, but you haven’t looked at it in years. It’s written on the back of the router? Nope, it’s that custom one you set up. Don’t worry—you can recover it right from your Windows PC using a built-in tool: PowerShell. No downloads, no sketchy third-party software.
By the end of this guide, you’ll know exactly how to pull up your current WiFi password in plain text using a single command. Even if you’re not a tech wizard, I’ll walk you through every click and keystroke. Let’s get your network back in your hands.
What you’ll need
- A Windows PC that is currently connected to the WiFi network (or has previously connected)
- Administrator access on that PC (you should be able to run PowerShell as admin)
- Basic familiarity with copy-paste (we’ll give you the exact command)
Step 1: Open PowerShell as Administrator
Click the Start button, type “PowerShell” in the search bar. You’ll see “Windows PowerShell” appear in the results. Right-click it and select “Run as administrator”. A User Account Control (UAC) prompt will pop up—click “Yes” to confirm. This gives PowerShell the permissions it needs to access your saved WiFi profiles.

Step 2: List All Saved WiFi Profiles
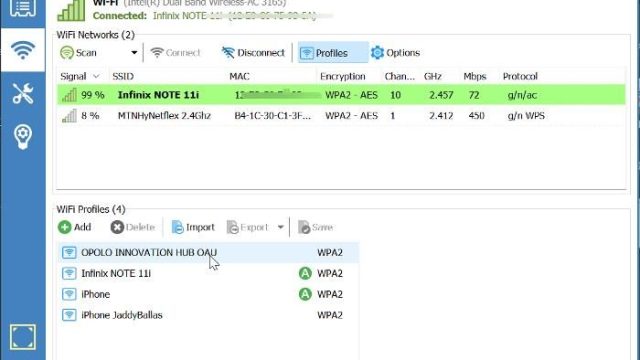
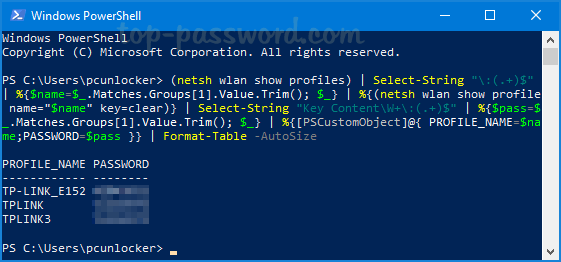
In the PowerShell window, type the following command and press Enter: <code>netsh wlan show profiles</code>. This will display a list of all WiFi networks your PC has ever connected to and saved. Look for the network name you need the password for—it should be in the “User Profiles” section. Note the exact name, including spaces or special characters.

Step 3: Get the Password for Your Network
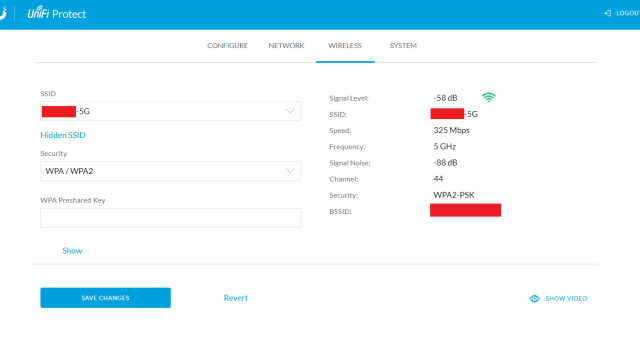
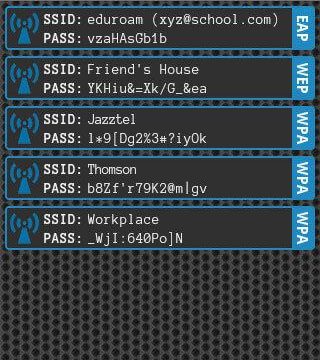
Now run this command, replacing <code>YourNetworkName</code> with the exact name from Step 2: <code>netsh wlan show profile name=”YourNetworkName” key=clear</code>. Scroll down to the “Security settings” section. Next to “Key Content” you’ll see your WiFi password in plain text. That’s it—your password is right there.

Step 4: Copy the Password
Select the password text with your mouse (click and drag), then right-click the highlighted text and choose “Copy”, or simply press Ctrl+C. Now you can paste it into a text file, email, or directly on someone’s device. Neat, huh?
Common pitfalls
- Forgetting to run PowerShell as Administrator: If you skip the admin step, you’ll get an error like “Access is denied”. Always right-click and pick “Run as administrator”.
- Typing the network name wrong: The name must match exactly (including spaces and capitals). Use the names from the profile list you got in Step 2 to avoid typos.
- No saved profile: If you’ve never connected to that network from this PC, or if you manually deleted the profile, the command won’t work. You’ll need to reconnect once to save the profile.
Where to next: Now that you’ve recovered your password, you might want to check other saved networks, or learn more about managing WiFi profiles with netsh. PowerShell is a powerful tool—try exploring other commands like <code>ipconfig</code> or <code>Get-NetAdapter</code> to become your own IT support.