Ever been locked out of your own WiFi because you forgot the password? It happens to the best of us. If you’re a Windows user and you’ve connected to that network before, you’re in luck — Windows stores those passwords, and you can recover them in minutes. This guide is for anyone who needs a quick, no-nonsense way to retrieve a saved WiFi password without resetting the router or messing with admin panels. By the end, you’ll know exactly which tool to use and how to use it to get your WiFi password back.
We’ll focus on the best free, lightweight tool for the job: NirSoft‘s WirelessKeyView. It’s portable (no install needed), works on all modern Windows versions, and displays every WiFi network you’ve ever connected to with its password in plain text. Plus, you can export the list for safekeeping. Let’s dive in.
What You’ll Need
- A Windows PC (Windows 7 through Windows 11 all work)
- Administrator privileges on that PC
- An internet connection to download the tool (or you can transfer it via USB)
- A USB drive (optional, if you want to build a portable toolkit — check out our guide on wifi password recovery portable for tips)
Step 1: Download WirelessKeyView
Head over to the official NirSoft website (nirsoft.net) and search for ‘WirelessKeyView’. Download the ZIP file — it’s tiny, under 100 KB. Don’t worry about fake download buttons; the NirSoft site is clean and trusted. Once downloaded, extract the ZIP to a folder of your choice. No installation required — just double-click the .exe file.

Step 2: Run WirelessKeyView as Administrator
Right-click on WirelessKeyView.exe and select ‘Run as administrator’. This is crucial — without admin rights, the tool can’t access the Windows registry where WiFi passwords are stored. If you see a User Account Control prompt, click ‘Yes’. The tool will immediately scan your system and display all saved wireless networks in a table.

Step 3: Find Your WiFi Password
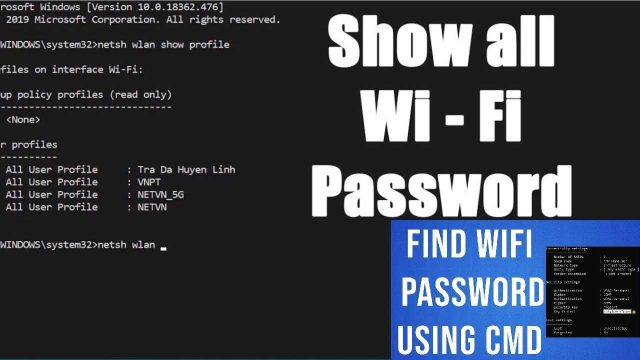
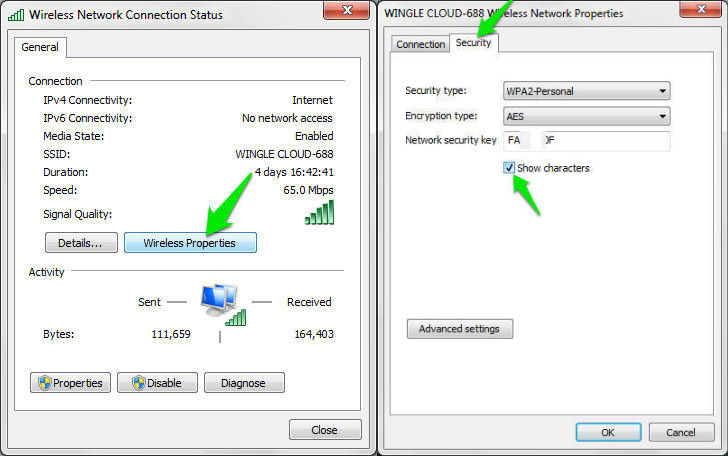
Look for your network’s SSID (the name you use to connect) in the list. The password appears in the ‘Key (Ascii)’ column. If the column is blank, try the ‘Key (Hex)’ column — some routers use hex format. You can double-click any entry to see all details in a popup. That’s it — you’ve recovered your password! If you prefer the command line, our article on show wifi password command prompt covers an alternative method.

Step 4: Save or Export Your Passwords (Optional)
Want to keep a backup? Go to File > Export Selected Items (or press Ctrl+S). Choose between saving as a text file, HTML, CSV, or XML. For a quick copy, select a row and press Ctrl+C to copy the entire line. You can also export all networks at once — handy if you manage multiple PCs. This is part of a broader wifi password recovery from pc strategy.
Common Pitfalls
- Antivirus false positives: Some antivirus programs flag WirelessKeyView as a potential threat because it accesses stored passwords. This is a false positive — it’s legitimate software. Temporarily disable your antivirus or add an exception.
- No networks shown: If the list is empty, you likely didn’t run the tool as Administrator. Close it, right-click, and select ‘Run as administrator’ again.
- Outdated tool version: WirelessKeyView gets updates for new Windows builds. If it fails to open, download the latest version from NirSoft. Alternatively, use the built-in netsh command — see our guide on wifi password recovery with netsh command for a no-download option.
Where to Next
You’ve successfully recovered your WiFi password. Next steps: save it in a password manager, share it with guests, or use it to connect other devices. If you need to recover passwords on other platforms, check out our wifi password recovery step by step guide that covers Windows, Mac, Linux, and Android. And for a broader view of available tools, read our wifi password recovery software review.
Happy surfing — and don’t lose that password again!