Ever been in a situation where a friend asks for your WiFi password, and you have no clue what it is? Your Windows PC already knows it — it’s just hidden. This guide is for anyone using Windows 10 or 11 who wants to dig out that forgotten password from their own computer. By the end, you’ll be able to retrieve any saved WiFi password using built-in tools, no extra software required.
If you’re looking for a broader introduction, check out the wifi password recovery process for beginners for a more general walkthrough. For now, let’s stick to Windows-specific methods that work even if you’re not a tech wizard.
What You’ll Need
- A Windows PC (7, 8, 10, or 11) that is already connected to the WiFi network whose password you want.
- Administrator access on that PC (you typically have this if it’s your personal computer).
- Optional: A second device to write down or store the password once recovered.
Step 1: Recover via Network Settings (Windows 10/11)
This is the quickest method for recent Windows versions. Right-click the WiFi icon in your system tray (near the clock) and select ‘Network & Internet settings’. Then click ‘Advanced network settings’ > ‘More network adapter options’. In the Network Connections window, right-click your active WiFi adapter and choose ‘Status’. Click ‘Wireless Properties’, go to the ‘Security’ tab, and check ‘Show characters’. Your password appears in the ‘Network security key’ box.

Step 2: Recover via Control Panel (Works on All Windows)
If you’re on Windows 7 or 8, or prefer the old-school way, open Control Panel and go to ‘Network and Sharing Center’. Click your active WiFi network name (next to ‘Connections’). In the pop-up, click ‘Wireless Properties’, then the ‘Security’ tab, and check ‘Show characters’. This method is also a great wireless password recovery tutorial if you want a visual walkthrough.

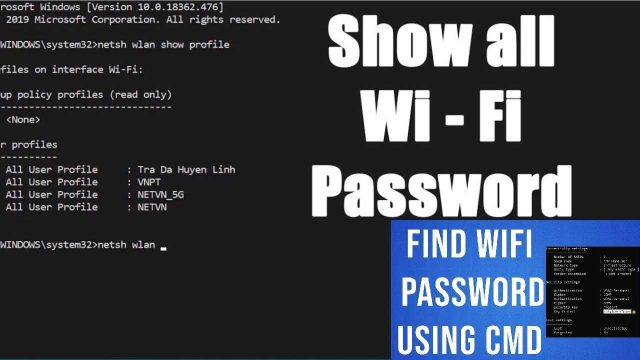
Step 3: Recover via Command Prompt (For All Saved Networks)
Need to recover passwords for networks you’ve connected to in the past? The command line is your friend. Open Command Prompt as Administrator (search ‘cmd’, right-click, ‘Run as administrator’). Then run: netsh wlan show profiles to list all saved networks. Note the exact profile name of the network you want. Then run: netsh wlan show profile name="YourNetworkName" key=clear. Look for ‘Key Content’ under Security settings — that’s your password.
If you’re more comfortable with a similar approach on other operating systems, you can also view saved wifi password using terminal on macOS or Linux.
Common Pitfalls
- Not running as administrator: The netsh command will fail if you don’t run Command Prompt as admin. Always right-click and select ‘Run as administrator’.
- Network profile not saved: If you’ve never connected to the network from that PC, Windows won’t have the password. In that case, you’ll need to recover wifi password from router admin or ask the owner.
- Hidden characters or spaces: Passwords may have invisible spaces at the end. Copy exactly what’s shown, and consider using a text editor to view raw characters.
Where to Next
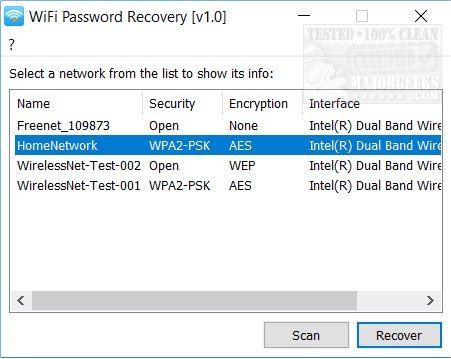
Now that you’ve recovered your password, consider backing it up. Read our guide on the best wifi password recovery utility for automated backups, or follow a wifi password recovery process at home to keep your network details safe. And if you ever need to recover passwords on other devices, we have tutorials for almost every platform.