Ever found yourself staring at a WiFi network you’ve connected to a hundred times, but you can’t remember the password? You’re not alone. This guide is for anyone with a Windows PC that has previously connected to the network you need. By the end, you’ll have a simple command line script that pulls every saved WiFi password from your machine in seconds — no extra software, no sketchy downloads.
Whether you’re setting up a new device, helping a friend, or just want to keep a backup, this method works on Windows 10 and 11. We’ll start with the basic commands and then build a reusable script that you can run anytime. Ready? Let’s dive in.
What You’ll Need
- A Windows PC (Windows 10 or 11 recommended)
- Administrator access on that PC (to run the script)
- A text editor (Notepad is fine)
- The network name (SSID) if you only need one password — otherwise we’ll grab all
Step 1: Open Command Prompt as Administrator
The first command we’ll use is netsh, which is built into Windows. But it only shows passwords when run with admin privileges. Hit the Start button, type “cmd”, right-click “Command Prompt”, and select “Run as administrator”. Click “Yes” on the UAC prompt.

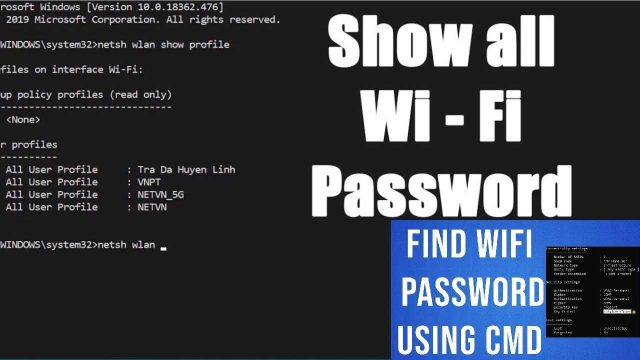
Step 2: List All Saved WiFi Profiles
In the command prompt, type the following and press Enter:netsh wlan show profiles
This lists every WiFi network your PC has ever connected to. You’ll see a list of “User Profiles”. Note the exact name of the network you want — capitalization and spaces matter.
Step 3: Show the Password for a Single Network
To reveal the password for one network, use:netsh wlan show profile name="YourSSID" key=clear
Replace YourSSID with the actual name from Step 2. Look for the “Key Content” field under “Security settings”. That’s your WiFi password in plain text.

Step 4: Automate with a Batch Script
Doing this for every network manually is tedious. Instead, create a batch script that loops through all profiles. Open Notepad and paste the following:@echo off
setlocal enabledelayedexpansion
for /f "tokens=2 delims=:" %%a in ('netsh wlan show profiles ^| findstr /C:"All User Profile"') do (
set profile=%%a
set profile=!profile:~1!
netsh wlan show profile name="!profile!" key=clear | findstr /C:"Key Content"
)
Save the file as wifi_recover.bat (make sure “Save as type” is set to “All Files”).

Step 5: Run the Script
Close Notepad. In your admin command prompt, navigate to the folder where you saved the script (e.g., cd C:UsersYourNameDesktop). Then type wifi_recover.bat and press Enter. You’ll see a list of every saved WiFi network and its password printed out. If you want to save the output to a file, run:wifi_recover.bat > wifi_passwords.txt
That file will contain all the results.

Step 6: (Optional) Use PowerShell for a More Elegant Script
If you prefer PowerShell, you can use a PowerShell script to recover all profiles. The approach is similar but more flexible — you can even export to CSV. Check out our dedicated guide for a full walkthrough. For now, the batch method above works perfectly on any modern Windows system.
Common Pitfalls
- Not running as admin: The biggest mistake. Without admin rights,
netshwon’t show the Key Content. Always right-click and run as administrator. - Spaces in SSID names: If a network name contains spaces, your script may fail if not properly quoted. The batch script above handles this, but if you’re typing manually, always wrap the name in quotes:
name="My Network". - Antivirus or Windows Defender blocking the script: Some security software flags batch scripts as suspicious. You may need to add an exclusion. That said, this is completely safe — it only reads existing data on your machine.
Where to Next
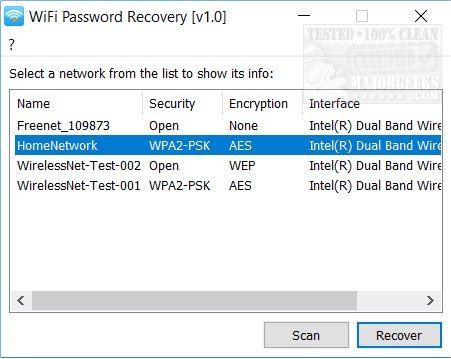
Now that you’ve recovered your passwords, consider using the free WiFi password recovery tools without ads we’ve reviewed if you prefer a GUI. Or, if you need to back up your WiFi passwords for safe keeping, our backup guide shows you how. For situations without deleting existing profiles, our guide on wifi password recovery without deleting profiles covers that. And if you ever need to recover WiFi passwords without admin rights, we’ve got you covered too. Happy browsing!