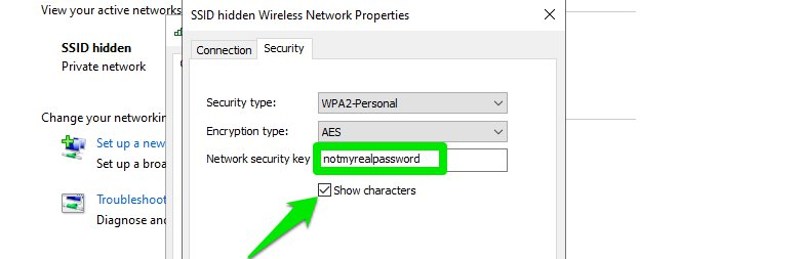
Ever needed to connect a new device to your home WiFi but completely blanked on the password? If you’ve got a Windows laptop that already connects automatically, you’re in luck—Windows stores every WiFi password you’ve ever used, and it only takes a few clicks to reveal it. This guide is for anyone who has a Windows PC (10 or 11) that’s currently connected to the network or has connected before. By the end, you’ll have the password in plain text, ready to type into your phone, tablet, or guest’s laptop.
We’ll cover three methods: the simple Settings app, the classic Control Panel, and a quick Command Prompt trick. No extra software needed. Just follow along, and you’ll be back online in no time.
What You’ll Need
- A Windows PC (Windows 10 or 11) that is currently connected to the Wi-Fi network whose password you want, or has connected to it in the past.
- Administrator access on that PC (you’re probably already an admin if it’s your personal computer).
- Optional: a second device (phone, paper, etc.) to write down or copy the password.
Step 1: Show WiFi Password via Windows Settings
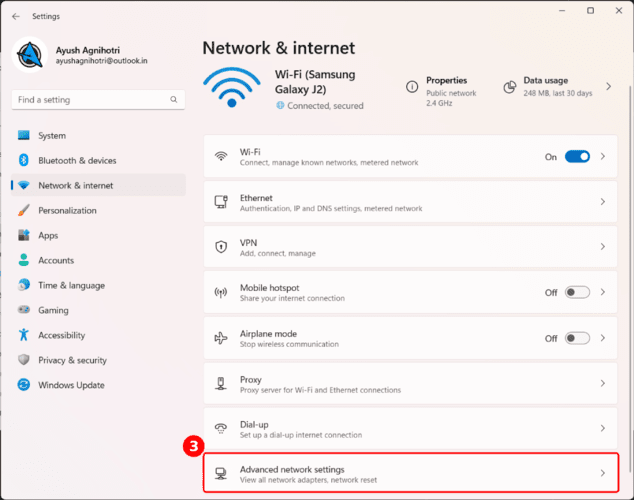
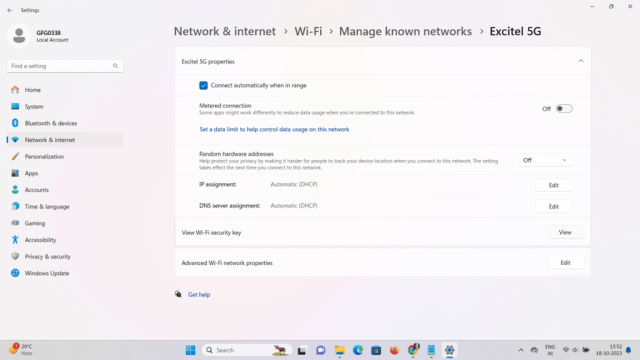
This is the easiest method for Windows 10 and 11. First, open the Start menu and click the gear icon to open Settings. Go to Network & Internet, then click Wi-Fi on the left sidebar. Click on Manage known networks (Windows 10) or just click the network name under your current connection (Windows 11). Find your network in the list, click on it, and then click Properties. You’ll see a field called Network security key—click the Show characters checkbox. That’s it! Your WiFi password appears right there.
Step 2: Show WiFi Password via Control Panel

If you prefer the classic way, open Control Panel by searching for it in the Start menu. Click Network and Sharing Center (you may need to change the view to Category or Large icons). On the left, click Change adapter settings. Right-click your Wi-Fi adapter and select Status. In the pop-up, click Wireless Properties, then go to the Security tab. Check Show characters, and the Network security key field will reveal your password.
Step 3: Show WiFi Password Using Command Prompt
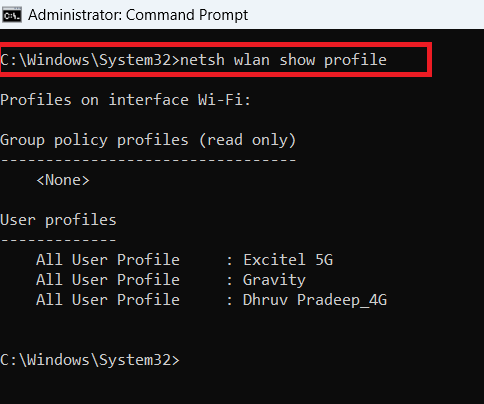
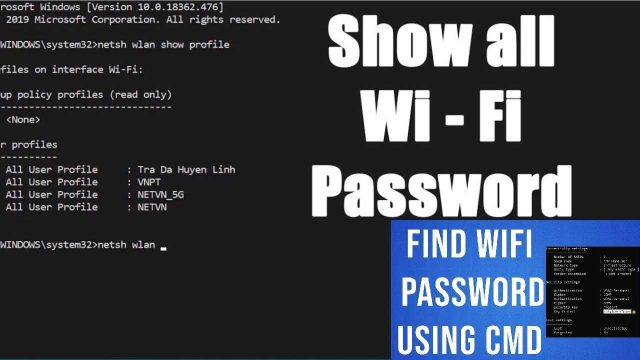
For a quicker method without clicking through windows, open Command Prompt as administrator (right-click Start > Windows Terminal (Admin) or search for cmd and choose Run as administrator). Type the following command and press Enter: netsh wlan show profiles. This lists all saved WiFi networks. Find your network’s name (SSID). Then type: netsh wlan show profile name=”YourSSID” key=clear (replace YourSSID with the actual name). Look for the line that says Key Content—that’s your password.
Common Pitfalls
- You need admin rights. If you’re on a work or school computer, you may not be able to see the password without permission.
- SSID name must match exactly in Command Prompt. If your network name has spaces or special characters, enclose it in quotes. Double-check the name from the list.
- The password field may be hidden if you are not connected to that network currently. For the Settings method, the network must be in your known networks list, but you don’t need to be actively connected—just show characters after clicking Properties.
Where to Next
Now that you’ve recovered your WiFi password, you might want to check out other related guides. For example, if you need to retrieve passwords on other devices, our beginner wifi password recovery tutorial covers macOS, Android, and more. If you’re a network admin automating tasks, the wifi password recovery powershell for admins guide is perfect. And if you’re preparing for a reinstall, learn how to recover wifi password after reinstall so you never lose access again. You can also export wifi passwords to csv to keep a backup. Happy surfing!