Ever needed to grab a WiFi password off a Windows machine but didn’t want to dive into the GUI? If you’re an IT admin managing multiple devices, PowerShell is your best friend. This guide walks you through recovering saved WiFi passwords using simple shell commands — no third-party tools required. By the end, you’ll be able to list every stored network and extract the password in plain text, even export them all to a CSV for inventory.
This is perfect for when a user forgets their network credentials, or you’re setting up a new device and need the passphrase fast. We’ll cover the classic netsh commands and a PowerShell one-liner that outputs everything into an easy-to-read format. If you prefer a more visual approach, check out our beginner wifi password recovery tutorial first. Otherwise, fire up your terminal and let’s get started.
What You’ll Need
- A Windows PC (Windows 10/11 or Windows Server 2016+) with administrative access.
- PowerShell (comes pre-installed – just open as Admin).
- Basic comfort with the command line (no scripting experience needed).
- Optional: A text editor to save the export script.
Step 1: Open PowerShell as Administrator
Right-click the Start button and select ‘Windows PowerShell (Admin)’ or ‘Terminal (Admin)’. Click Yes on the UAC prompt. This gives you the rights to query WiFi profiles.

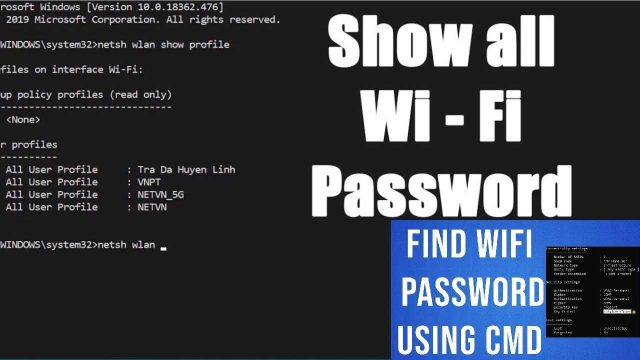
Step 2: List All Saved WiFi Profiles
Type the following command and hit Enter: netsh wlan show profiles. You’ll see a list of every network the PC has ever connected to, under ‘User Profiles’. Note the exact name (case-sensitive) of the profile you need. If you’re after all passwords at once, don’t worry – we’ll handle that in Step 4.

Step 3: View a Single WiFi Password
Run this command, replacing ProfileName with the exact name from Step 2: netsh wlan show profile name="ProfileName" key=clear. Scroll down to the ‘Security settings’ section. Look for ‘Key Content’ – that’s your plain-text password. This works for any saved network, including WPA2 and WPA3. For a deeper dive, our wifi password recovery tutorial windows 10 covers this in detail.

Step 4: Export All WiFi Passwords to CSV
Need all passwords at once? Use this PowerShell one-liner that loops through every profile and outputs the SSID and password to a CSV file on your desktop:
After running, open the CSV file on your desktop. It contains two columns: SSID and Password. Handy for documentation or migrating networks. For more formatting options, see our guide on export wifi passwords to csv.

Step 5: Save Individual Passwords to Text File
If you only need one password, pipe it to a text file: netsh wlan show profile name="ProfileName" key=clear | Out-File -FilePath C:tempwifi-password.txt. Then open the file in Notepad. Great for quick sharing with colleagues.

Common Pitfalls
- Running as standard user: If you don’t launch PowerShell as Admin, netsh returns an empty list or access denied. Always right-click and run as administrator.
- Profile name with spaces: Always wrap the profile name in double quotes. For example, “Home Network” not Home Network. Forgetting the quotes causes an invalid syntax error.
- Key=clear not found: On older Windows versions (pre-8.1), the key=clear parameter might not work. In that case, use a third-party tool or update the machine. For alternative methods, our wifi password recovery for lost password guide has you covered.
Where to Next?
Now you’ve got the basics of WiFi password recovery with PowerShell. To go further, check out how to recover wifi password after reinstall if you’re setting up fresh machines, or learn how to view saved wifi password on laptop using GUI methods. And if you ever work with a fleet of devices, the CSV export trick will save you hours. Happy scripting!