Ever needed to connect a new device to your WiFi but forgot the password? Or maybe you want to share your network with a guest without digging through old paperwork. If you’re on Windows, PowerShell has a built-in way to show all saved WiFi passwords—no downloads or third-party tools required. This guide is for anyone with a basic comfort level on a computer; you don’t need to be a sysadmin. By the end, you’ll be able to pull up the password for any WiFi network your PC has ever connected to.
We’ll walk through opening PowerShell, listing your saved profiles, and revealing the security key. I’ll also show you how to export everything to a text file for easy reference. Plus, I’ll link to related methods like the recover wifi password on desktop guide and wifi password recovery using cmd if you prefer Command Prompt. Let’s dive in!
What You’ll Need
- A Windows PC (Windows 10 or 11 works best)
- An account with administrative privileges
- A WiFi network you’ve connected to before (password saved on this PC)
Step 1: Open PowerShell as Administrator
Right-click the Start button (or press Win+X) and select ‘Windows PowerShell (Admin)’ or ‘Terminal (Admin)’ on newer versions. If prompted by User Account Control, click Yes.
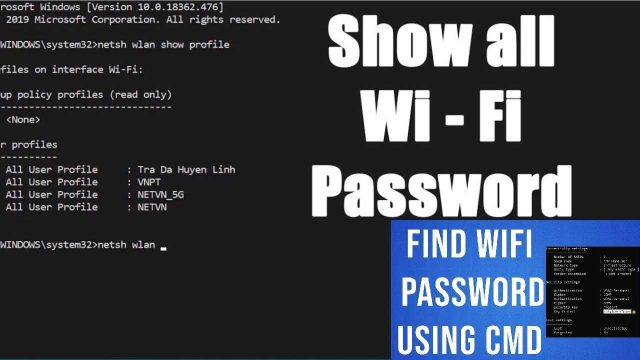
Step 2: List All Saved WiFi Profiles
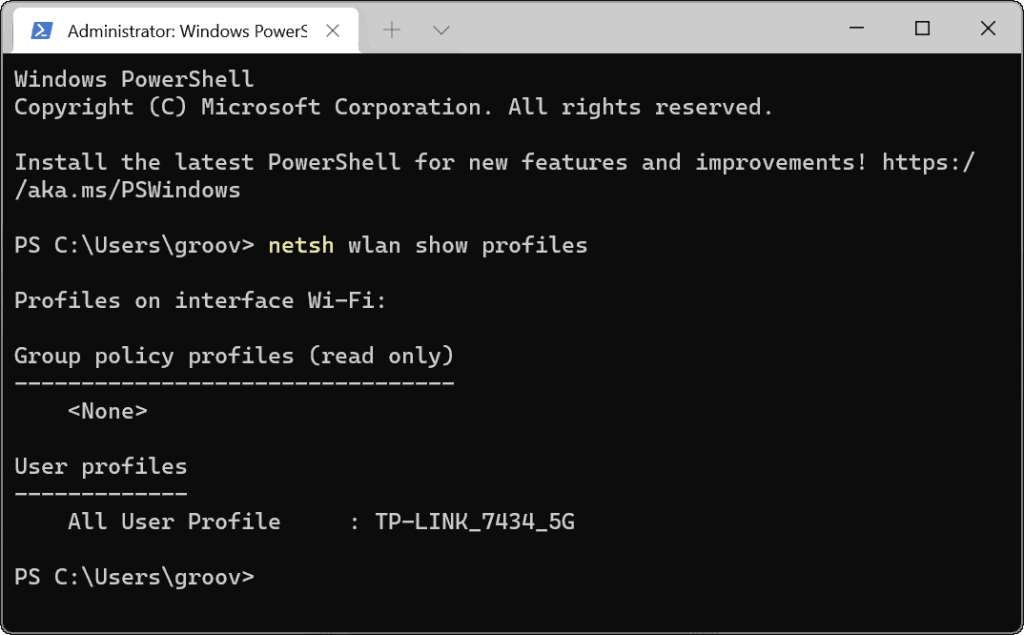
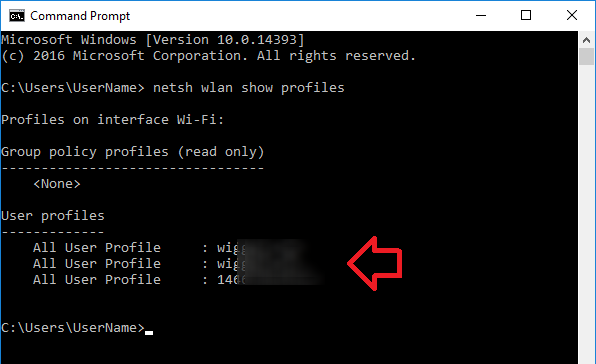
In the PowerShell window, type the following command and hit Enter: netsh wlan show profiles. This displays every WiFi network your PC has stored. Note the exact name (SSID) of the network whose password you need.
Step 3: View the Password for a Specific Network
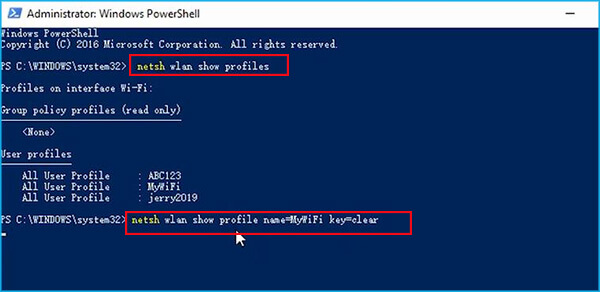
Now run this command, replacing ‘YourNetworkName’ with the actual SSID: netsh wlan show profile name="YourNetworkName" key=clear. Look for the line labeled ‘Key Content’ under ‘Security settings’—that’s your WiFi password. Copy it down or take a picture.
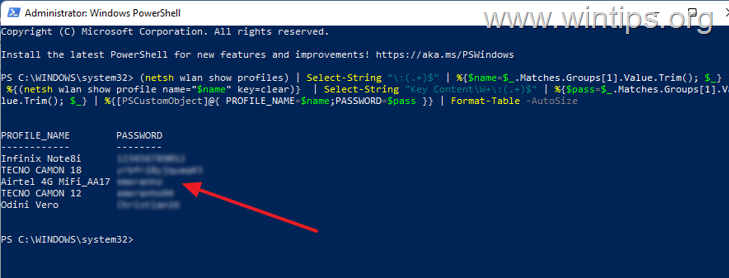
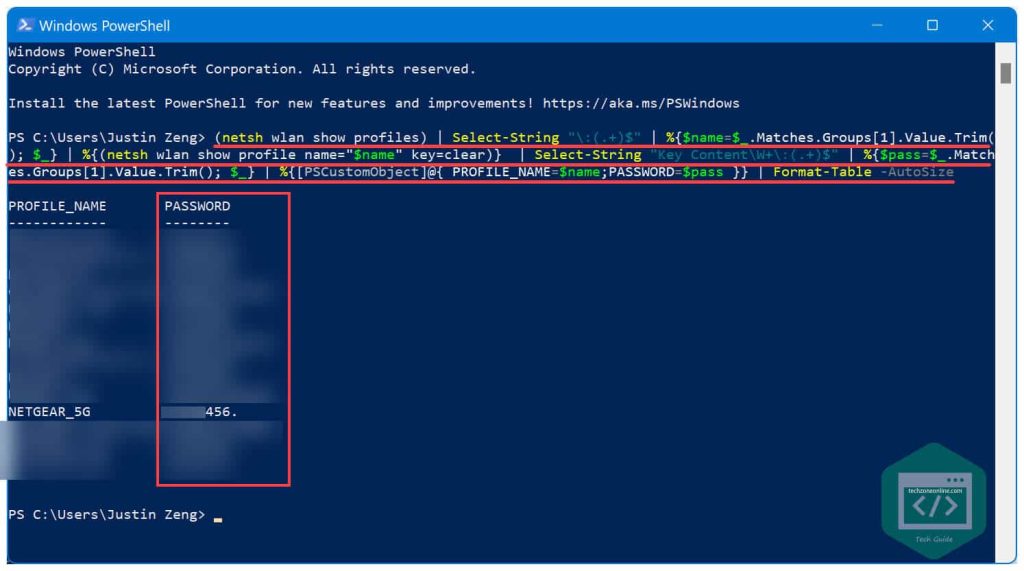
Step 4: (Optional) Export All Passwords to a Text File
To save all passwords at once, use: netsh wlan show profiles | Select-String ":(.*)$" | ForEach-Object { $_.Matches.Groups[1].Value.Trim() } | ForEach-Object { netsh wlan show profile name="$_" key=clear } | Out-File -FilePath DesktopWiFiPasswords.txt. This creates a file on your desktop. You can then open it in Notepad.
Common Pitfalls
Here are three issues you might run into and how to fix them.
- PowerShell not running as admin: If you see ‘Access is denied’ or no profiles listed, close PowerShell and reopen it as administrator. You need elevated privileges to view security keys.
- Wrong profile name: The profile name is case-sensitive. Make sure you type it exactly as shown in the list, including spaces. If it has spaces, enclose it in quotes.
- No saved passwords: If your PC has never connected to a WiFi network or you cleared the saved networks, there won’t be any profiles to show. Connect to a network first and make sure ‘Connect automatically’ is checked.
Where to Next
Now that you know how to grab passwords from PowerShell, you might want to check out other recovery methods. For example, you can find saved wifi password from registry for a different approach. Or if you’re concerned about security, learn about a secure wifi password recovery process. Also consider backing up your passwords automatically—check our guide on how to recover wifi password on desktop for more tips.