Ever needed to connect a new device to your WiFi but couldn’t find the password anywhere? Maybe you stuck the sticker on the router years ago and it’s faded, or you just never bothered to write it down. If you’re on a Windows PC that already connects to that network automatically, you’re in luck. This guide is for anyone who wants to recover a saved WiFi password without resetting the router or installing sketchy third-party software. By the end, you’ll know a simple command that reveals the password for any WiFi network your computer has ever connected to.
We’re going to use the built-in netsh command. It’s safe, fast, and works on Windows 7 through Windows 11. No downloads, no admin tricks—just a few keystrokes. You’ll be copying the password in under a minute. Let’s dive in.
What You’ll Need
- A Windows PC (desktop or laptop) that has connected to the WiFi network before.
- Administrator access on that PC (you’ll need to run Command Prompt as admin).
- The WiFi network’s name (SSID) — if you don’t remember it exactly, you can list all saved networks.
- A few minutes of your time.
That’s it. No router login, no password managers, no extra tools.
Step 1: Open Command Prompt as Administrator
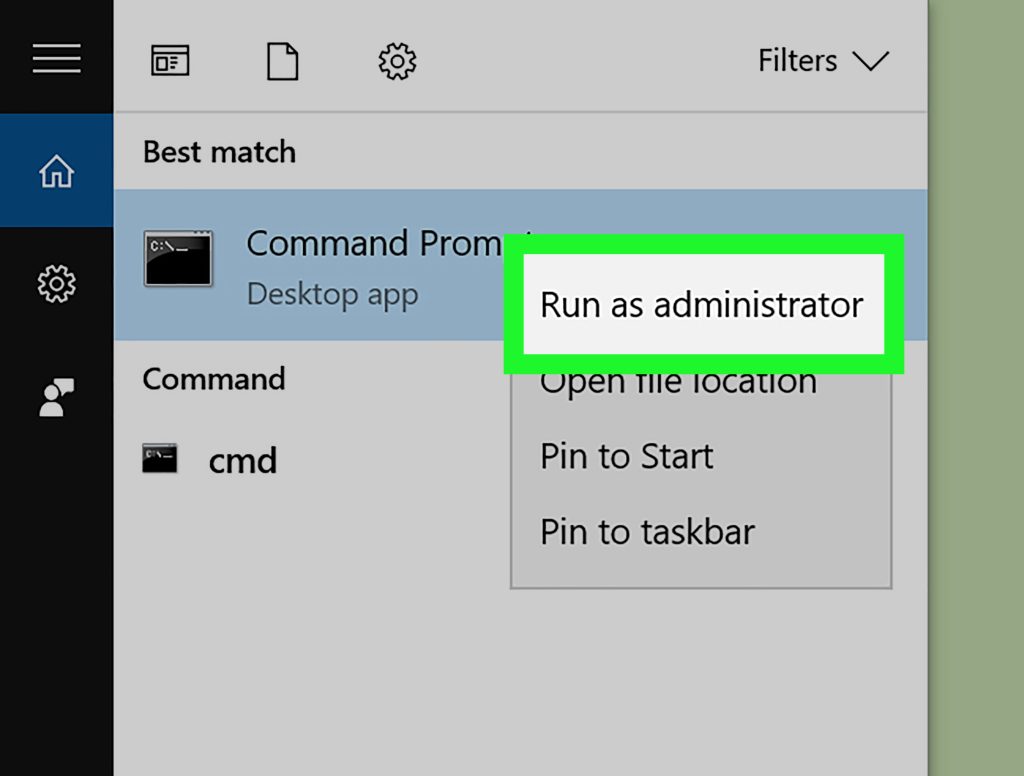
First, you need to open Command Prompt with admin rights. Hit the Start button, type ‘cmd’, then right-click on ‘Command Prompt’ and select ‘Run as administrator’. If you get a User Account Control prompt, click ‘Yes’.
Alternatively, you can use PowerShell (just search for ‘PowerShell’ and run it as admin). The commands are the same.
Step 2: List All Saved WiFi Profiles
In the command window, type the following and press Enter:
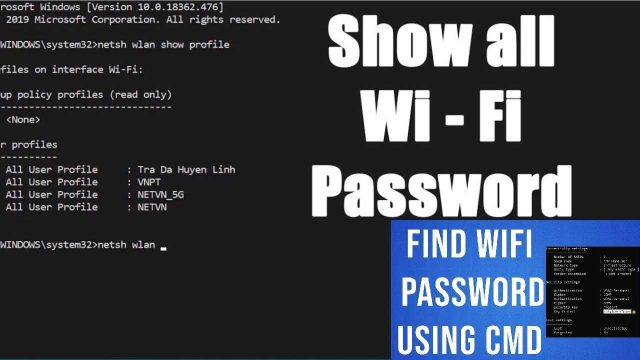
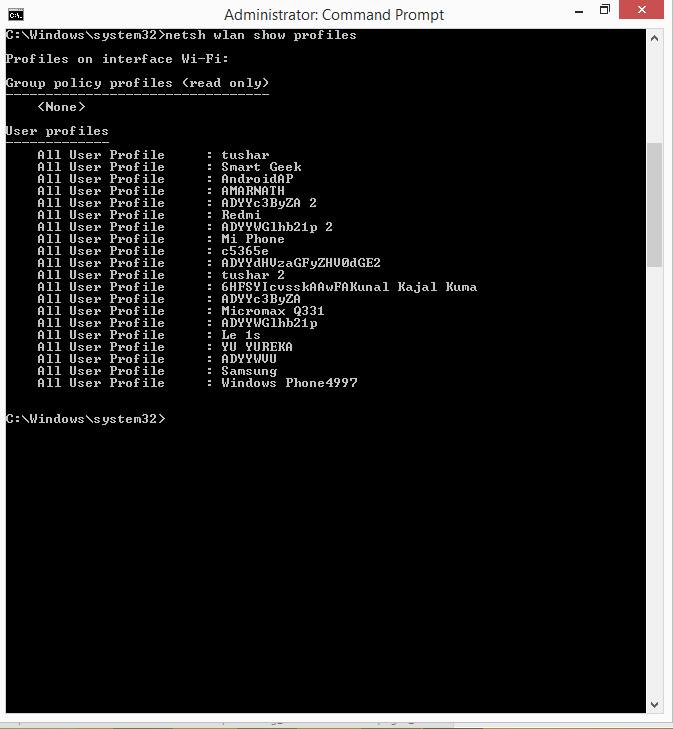
netsh wlan show profiles
Command
This will list every WiFi network your PC has ever connected to. Scroll through the list and find the one you need. Make note of the exact name (SSID) — it’s case-sensitive.
Step 3: Show the Password for a Specific Network
Now run this command, replacing ‘YourNetworkName’ with the actual SSID from the list:
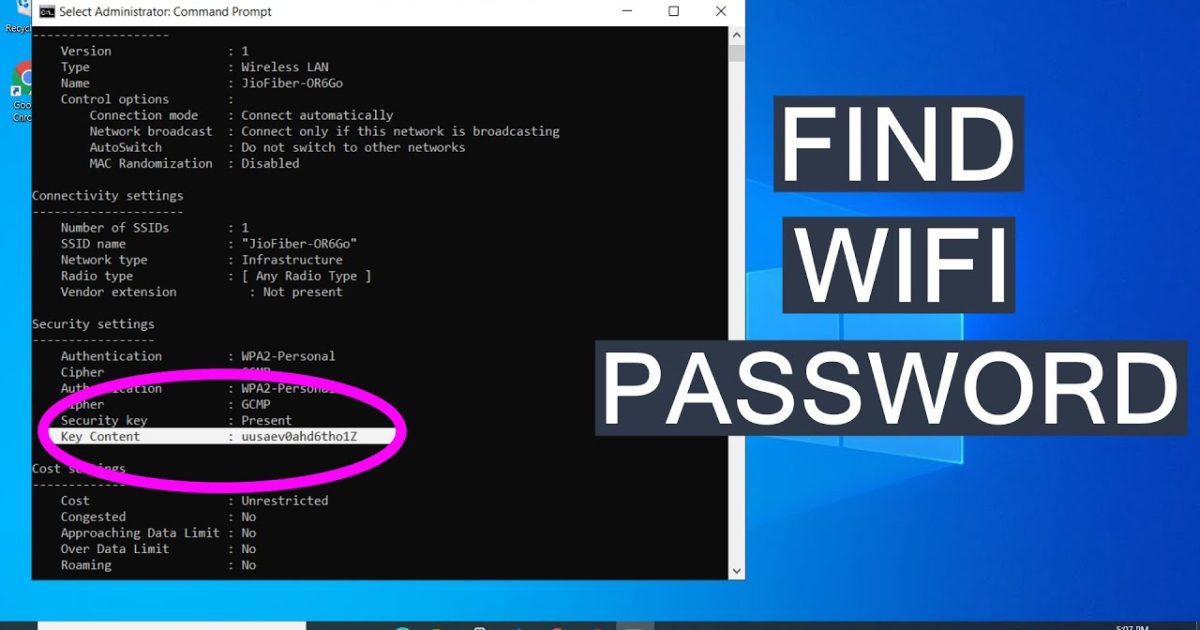
netsh wlan show profile name=”YourNetworkName” key=clear
Command
Look for the line that says ‘Key Content’ under the ‘Security settings’ section. That’s your WiFi password. It will be displayed in plain text.
Step 4: Copy the Password
Select the password with your mouse, right-click to copy, or press Ctrl+C. Paste it into a text file or directly into the device you’re connecting. That’s it — you’re done.
Common Pitfalls
- Forgetting to run as administrator: If you skip the ‘Run as administrator’ step, you’ll get an error like ‘The request is not supported’. Close and reopen correctly.
- Typo in the network name: The SSID must match exactly, including spaces and capitalization. Use the list from Step 2 to copy-paste the name.
- Password field shows ‘None’: This means the network uses a different authentication method (like a certificate or enterprise login). The command won’t show a password in that case. You’ll need to contact your IT department or use wifi password recovery using network settings.
Where to Next
This command works on all modern Windows versions. If you’re on Windows 11, the steps are identical—check out our dedicated Windows 11 wifi password recovery guide. For a broader approach, see our saved wifi password recovery windows article. If you prefer a graphical method, try wifi password recovery using network settings. And if you run into issues, our wifi password recovery troubleshooting guide has got you covered. Finally, for a no-command-line option, check the easiest wifi password recovery method. Happy surfing!